Monday, October 20, 2014

One down, one to go (updated)

Remember a million years ago when I dragged 2 stray chairs home?


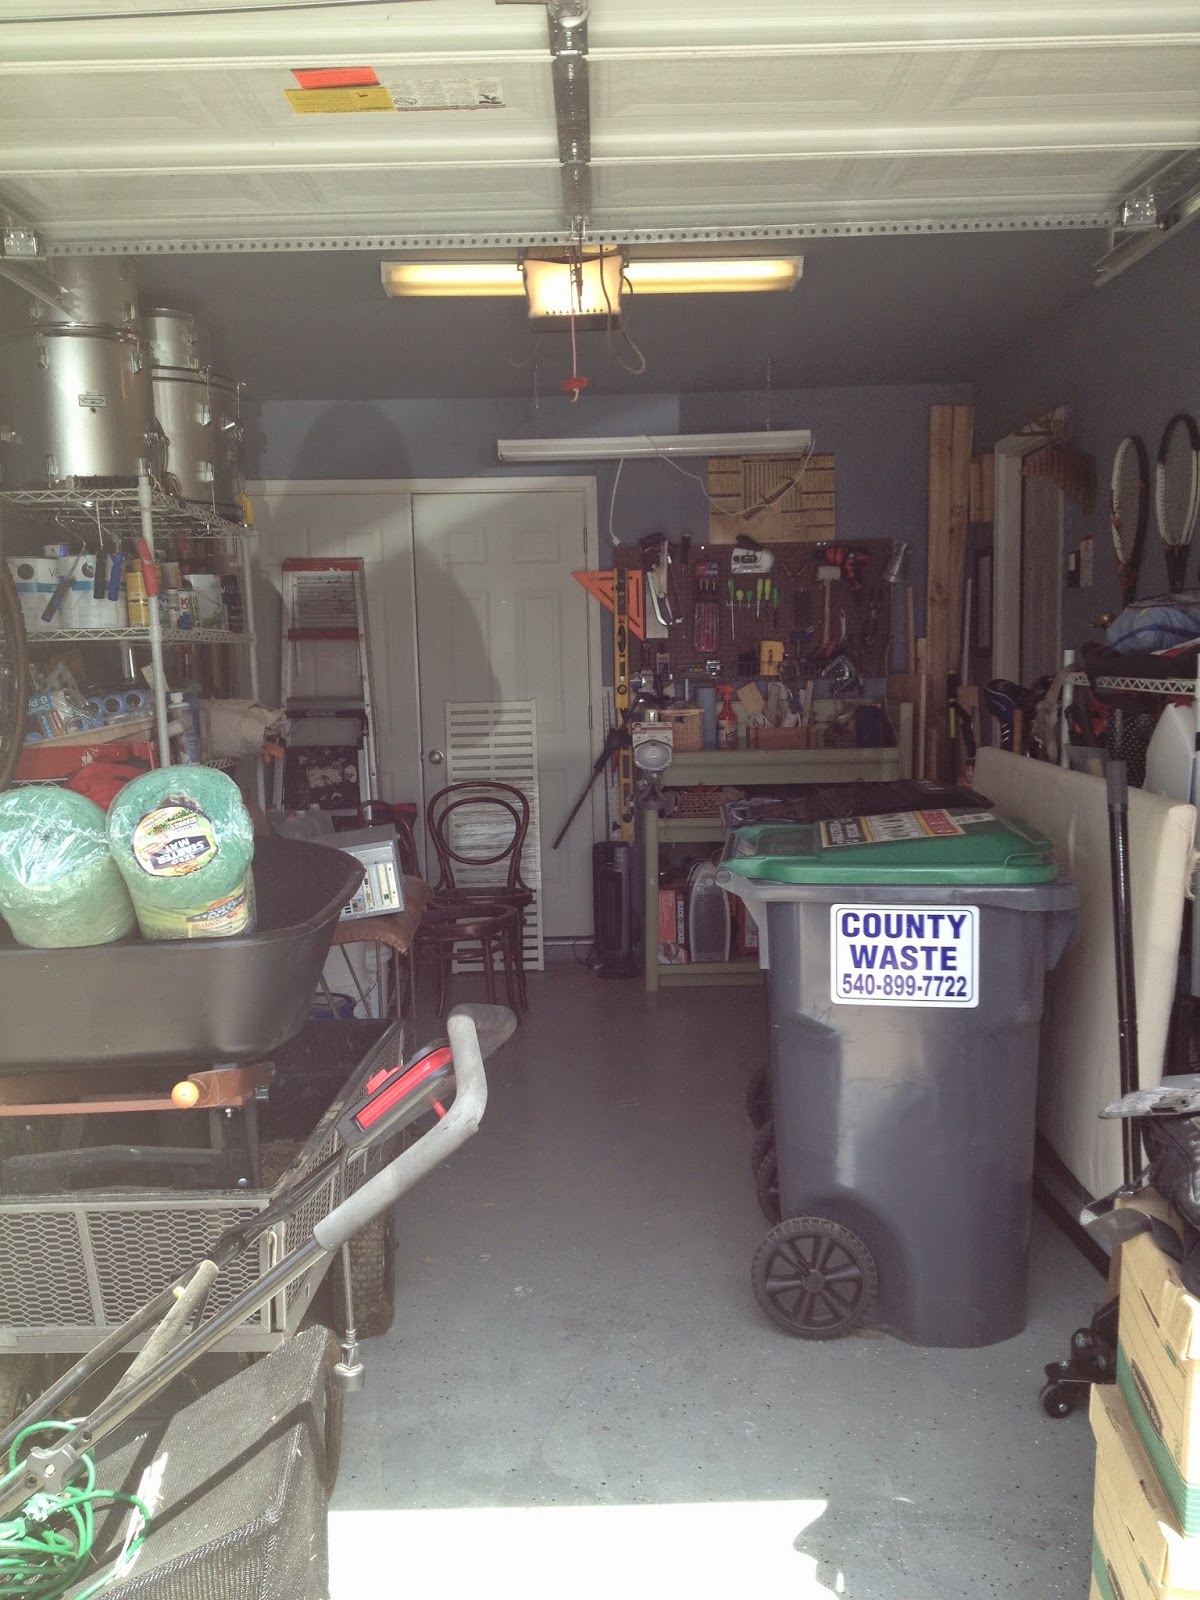
Well, I've finally finished one of them...


I loved the wooden base, and loved it even more when I realized it detached from the chair body.  While it was loose, I rubbed it down with some beeswax-based wood food/conditioner.


After detaching the base, I set to work removing the existing upholstery.  This took approximately 100 hours, removing all the little staples.


Once everything was off, I noticed the straps were really, really loose.  I probably should have replaced them, but I just pulled them tight and re-stapled.


The arms came off, too, which I thought would make the job really easy.  I sewed some arm covers, and upholstered the back/bottom.  Then I realized there was no way to re-attach the arms at the top, which made the chairs wobbly and also looked terrible.  So I tore out all my stitches and started over.


I also wanted to add a little cush to the arms, where I lean into the sides and corners.  I found an (unopened) egg crate foam mattress pad in our closet, and set to work chopping it up and attaching it to the arms.


I wrapped everything in batting, and made a pattern with some pattern paper by pinning it to the chair.  


After many, many battles with my sewing machine, I finally finished, trimmed that enormous seam allowance, slid it over the chair and stapled it tight along the bottom.


There are no pictures of sewing the cushions, because there was a greater focus on not crying the entire time than I'd anticipated.  But they're done, now (yes, my mom came to the rescue, there).

It is FAR from perfect.  And now I have a very serious appreciation for upholstery professionals.  I totally understand paying $300 + per chair.


Now I just have to do it all over again...


*UPDATE*

HAHAHAHAAA, oh, man, you guys.  After the 5-millionth round of colds/respiratory illnesses that refused to leave my house this winter, I totally gave up on this project.  They were great chairs, but I was very clearly in too far over my little DIY-loving head.  We've got some ikea chairs in their place now, and while they are not quite as comfy or cute as these guys were, have the benefit of not smelling like wet dog and mold.  So, we'll go ahead and chalk this one up as a lesson learned and I'll be planning to take an actual class next time I fall in love with an upholstery project...

Thursday, October 16, 2014

Garage Workbench

As my project load has increased, I've been pining for a separate work space.  Fortunately, while our 1-car garage is too small to keep a car, it is the perfect size for a workshop.  Unfortunately, the garage was the dumping ground for stuff that didn't have a proper place in our home.

After an entire day of cleaning out (including a goodwill donation run that included 5 bookshelves...I have a bookshelf obsession, evidently), I was starting to see some potential.

I had previously been trying to use the changing table the Mr. and my dad built as my workbench.  While they built me a phenomenal changing table, it did not translate well from baby station to project center (that green thing covered in tools and mess in the back corner, is it...).

Super old picture, taken while still re-doing dining room chairs!

Clearing out the garage (including saying goodbye to the changing table/workbench) cleared out a long wall for work station goodness.  And let me double my pegboard size and wall storage.


The workbench top is made of 16 2 x 4s, which we glued together (and clamped with some really big clamps until it dried).  I considered a lot of other options (hardboard, hollow core, laminate, plywood, etc...), but ultimately making our own laminate out of lumber was the most cost-effective option for making a really strong workbench.


As leg supports, I used stock cabinets from Lowe's, giving the garage a LOT of small-tool storage.  With the heavy, heavy workbench top, combined with the heavy saw and future heavy tools, I knew the particleboard bodies of the cabinet cases wouldn't be strong enough.  So I added additional 2 x 4 brace supports on either side of each cabinet, and now it will easily stand up to all the abuse it's likely to see.


We still need to address the lighting and electrical issues (the only plug in the garage is over by where the old workbench was), and I'll be spending some time with a planer getting the workbench top smoothed out.  But for now, I've got a great place to work.  The Kiddo has big plans to build his first robot there.  For the first time in a while, I can't wait to get to work out there!