If your washer sounds like a train during the spin cycle, your bearing is probably toast, and you'll need to replace it. Every machine is set up slightly differently, but here's a handy step by step on how to replace it. With bonus TIP commentary because this is the SECOND time we've had a Whirlpool front loading washer's bearing fail.*
I'm not going to kid y'all, it's a lot of work. But, based on the quote from the repair man, it's also a LOT of money saving. $80 for new bearings and seal v. $1000+ for a whole new washer drum (that didn't need replacing, the guys Whirlpool contracts with wants to replace the whole assembly instead of just the broken piece).
Before you get started, gather your tools. I needed:
Also helpful: a labeled place to put all the different screws holding your machine together:
Step 1: Shut off your water at the washer outlet, unplug your machine, unhook your hoses from the wall. This can get pretty wet if you're not careful to hold the hoses upright, so make sure you have a bunch of towels handy. Move your machine somewhere you can work freely and has a lot of room for all the parts you're about to take out. Take out your dispenser tray (mine has a little push button release, and pulls right out).
Step 2: Remove the top panel. In mine, the 3 screws along the back are all that hold it down. Once they're out, lift up and pull the top off.
Step 3: Remove all your hoses from the back, and then remove the back panel. Some of the screws on mine were longer than others; make sure you mark where any oddballs you have go.
Step 4: Remove the front bottom panel. This will give you access to the lower front tub weights, front shocks, and and the lower drain hose.
Step 5: Unhook your detergent dispenser from the machine front, and the hoses that feed into the tub. My dispenser had 3 screws that held it on, and a little clip on the top.

Step 6: Now, you should be able to unhook the top rear metal bar on the machine and place it to the side. You may need to unclip some wire connectors first, though. Make sure you take plenty of pictures so you know where they re-hook.
Step 7: Time to undo the motor. First, you'll need to remove the belt. Just spin the big silver wheel at the back, it it'll spin right off. Note where your wires (especially the green ground wire) attach, and remove them. Our motor was held on with one bolt and 2 placement arms, but your setup might be different. Once it's off, put it somewhere safe.
TIP: Take lots of pictures of this. You might not use them, but you'll be happy to have them.
Step 8: Remove the front seal. There's a little springy seal clip at the very front opening (where your door rests) that will peel off with a screwdriver really easily. Take care not to rip the seal itself as you remove it.
Then, after you peel the seal front back, there's a second clamp that holds the seal on the tub. On mine, it had one screw to untighten, and off it came.
Step 9: Take off the tub weights using your socket wrench. On my machine, there was one weight at the back (brownish), and 2 on the front (grey) - one on top, one below. Removing the seal in front of the tub made getting to the bolts on the front much easier.
TIP: Don't skip this step. It seems like a pain, but it is infinitely easier (and you are less likely to break something) to lift the tub where you need it with as little weight on as possible.
 |
| Rear weight coming off |
 |
| Lower front weight, hiding under the seal |
Step 10: Unhook any other wires and hoses from the tub (the lower hose, especially, needs a towel or 5 underneath it when you unhook it). Take lots of pictures, again, so you know you've set it back up correctly.
Step 11: Unhook the shocks. On this machine, they were locked in with little pressure clips, which we had to depress with a tiny screwdriver, twist and remove. In the first one, the shocks were held on by screws, so your machine may be slightly different. Make the shocks as small as they can go, and fold them off to the side so they don't get bonked.
TIP: This is where removing the weights first is helpful. The first time, we didn't remove the weights, and we're pretty sure it bent one of the shocks, resulting in a really loud thumping that made us replace the whole machine after a few months. Just...be really, really careful with these parts as you detach and reattach them.
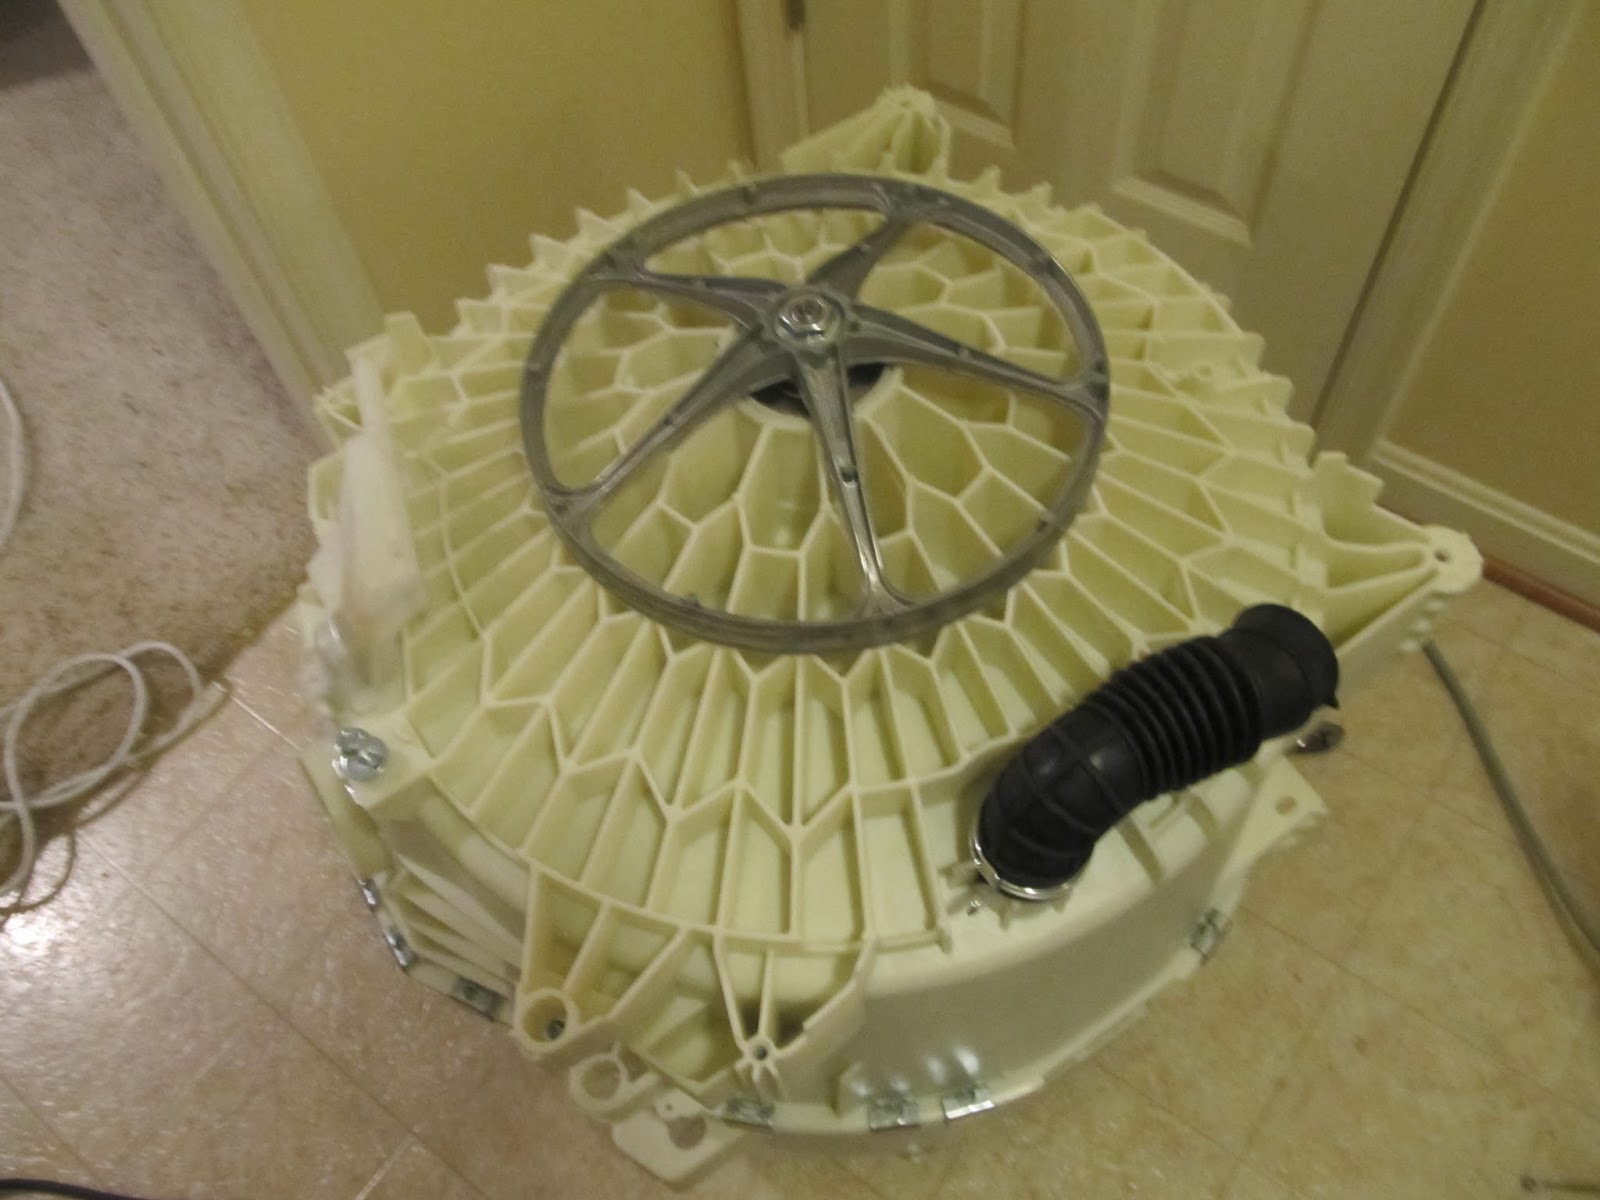
Step 12: Now the only thing holding your tub on should be 2 springs. Lift the tub up and out, and set it in a good space to work on it.
 |
| Tub and drum removed and ready to fix |
 |
| An empty washing machine |
Step 13: Unhook the rear wheel. Use a hammer handle to keep the wheel from turning with the socket.
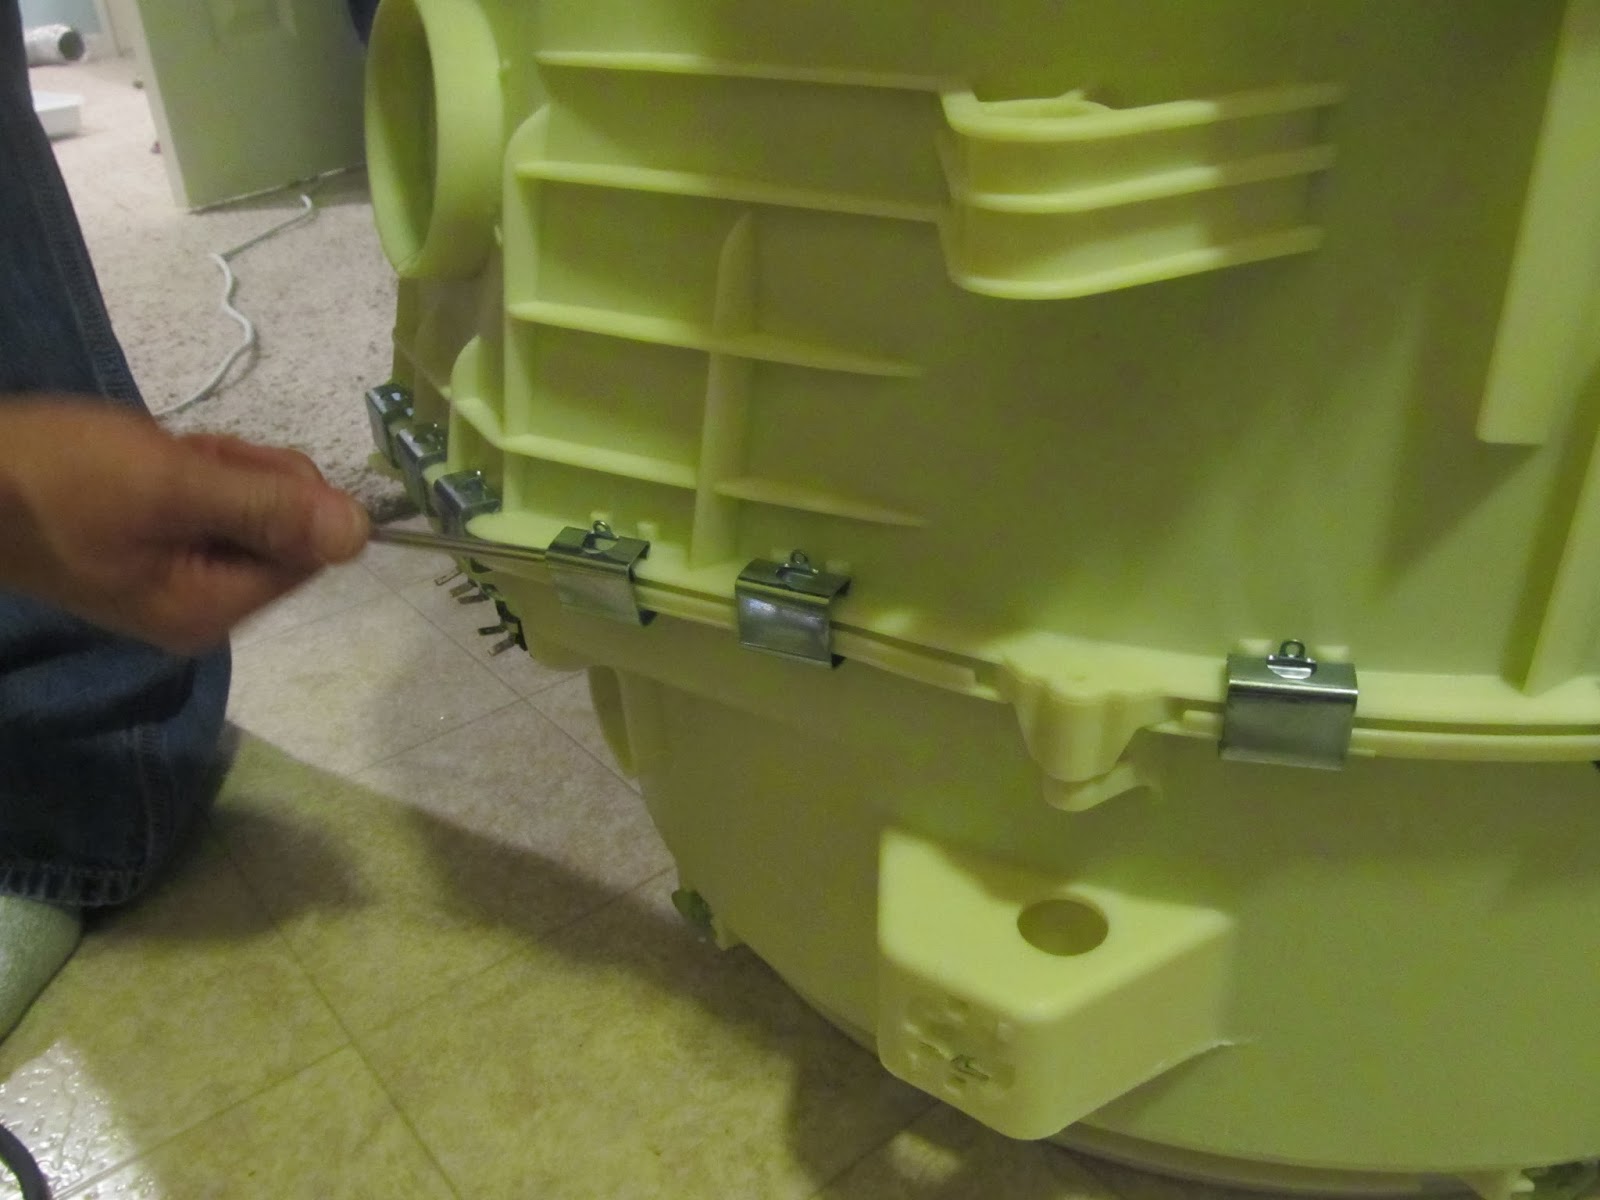
Step 14: Unhook the clips holding the tub together. Here's another place where your machine might be different, but mine came with just pressure clips that came off with a flathead screwdriver.
Step 15: Now that the clips are off, the tub should come into 2 parts, and you can remove the drum. You may need to take this opportunity to clean off the outside of the drum, depending on how dirty it is.
TIP: The first machine we did this on had some gross corrosion and gunk on the spider arm (the 3 pronged part attached to the tub). This machine was much newer, so the spider arm looks perfect still. We've also been extra vigilant about monthly washer cleaning cycles, so that may have helped, too.
Step 16: Bearing Banging Time. Set your empty tub, out-side down, on top of a couple of scrap bits of 2x4 or thicker wood. This will protect your tub and give the sad bearing a place to fall out. Use your chisel and sledge hammer to knock the rear bearing out. Don't worry about being too delicate on the bearing, but take care not to hurt your tub.
Step 17: Flip the tub over (again, on the wood scraps so you don't break off any clips that will hold the tub together), and give your chisel and hammer a workout, knocking out the second bearing and seal at the same time.
TIP: The first time, we used a fancy seal-removing tool. It was so unbelievably frustrating trying to use that tool, and knocking it out at the same time as the bearing worked just fine.
 |
| Broken bearing; the ring on the top left was supposed to be attached to the bearing... |
Step 18: Now for the tricky bit, installing the new bearings without damaging them. Do the back-side bearing first. Line it up, but it won't just squish in. And you can't just whack it with a hammer, or the bearing will break, and you'll be back where you started. You can only hit on the outside edges, and you want to make sure it goes in evenly, and all the way down into the depth of the hole.
TIP: Save your old bearings to use as buffers between the hammer and new bearing, since they're the perfect size, and you don't have to worry about breaking them.
Step 19: Flip the tub over, and repeat the process with the inside bearing. Clean out any grease that may have gotten on the inside of the tub when replacing the bearings.
Step 20: Install the seal on the inside of the tub using a mallet, in between where the drum will go and the bearing.
TIP: The seal we got wasn't exactly the same shape as the stock part, so we didn't know for sure if we had to inset it or if a flush mount was OK. During our test wash (after everything was put back together), it started squealing at high speed spins.
Then, it started to smell like burning rubber. That was bad. We cancelled the cycle, took everything apart (again), and seated the seal a little deeper and closer to the bearing. We were fortunate to catch the problem before the seal was damaged.
Step 21: Lay the back of the tub over the drum spoke; flip it over and reattach the other half of the tub. When you re-install the clips, start by attaching them on opposite sides of the tub. One tutorial I saw advised running some silicone between the tub halves, but I haven't found that to be necessary.
TIP: Spin the drum when you have it at this stage, before you reattach everything. If it doesn't spin easily, you have a problem (and it's much less time consuming to fix now). We currently have a little seal noise when our drum spins at low speeds, which (so far) seems to be actually sealing out the water, and not doing any harm.
Step 22: Re-attach everything else, in reverse order to how it was taken off. Consult your camera frequently to help remember just how and where that wire or hose is supposed to go.
After all that, do a test wash where you watch for leaks (and burning rubber smells) the whole time.
You can do this, but it is hard. This second time around, it took us about 3 hours of work (and then another 2.5 when we had to redo the seal). Good luck, and when this project makes you frustrated, just think of all the things you get to buy with the money you're saving by not buying a brand new washing machine.
*General disclaimer and reminder that I am neither a professional nor an expert at these types of things. These steps might not work for you, and might make everything terrible and the worst. I'll be happy to answer any questions to the best of my ability, but if you tackle this, any fallout is between you and your homeowners' insurance.