
Here is where I will warn you that, if you have the means, go to your local home improvement store, buy a new door and frame (even if your door itself is fine, like mine was), and have them install it. This was a not so fun project.
Then again, if you're like us, you don't have the means. So you'll have to use your own muscle.
We started by gathering the supplies we knew we'd need. Pry bar, hammer, and replacement trim pieces.


Take off your doorbell, and make sure to trim the wire ends so you don't incessantly ring it if the wires bump together (and make your dog think intruders are imminent)


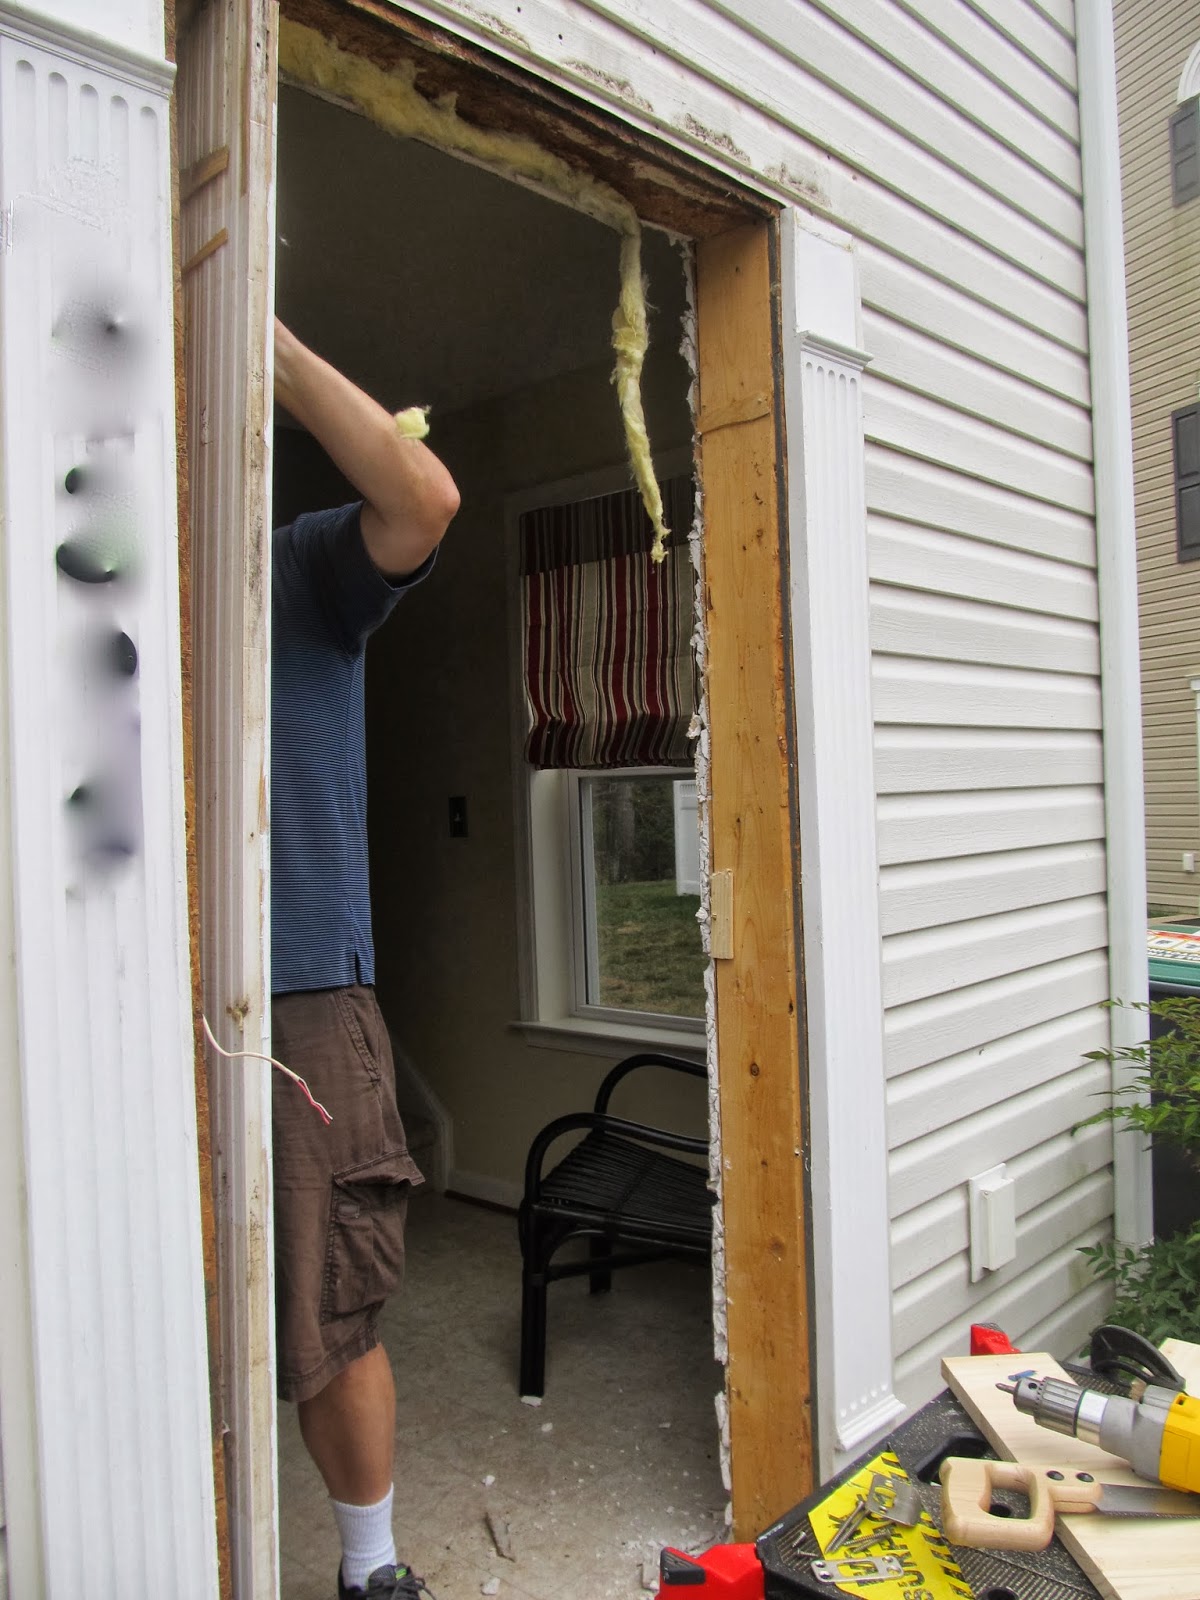
Now the fun part - use the pry bar, hammer, leverage to help you remove the old trim.


Once we peeled off the top trim header, we knew our hypothesis about the water getting under there was correct. At least we've got that sealed off now...


We intended to just patch the bottom door frame that had rotted out, but just the rot was more extensive than we saw initially.


So we took out the old door frame... and set off to find a new one.
Every home improvement store sells a standard door frame kit. Of course, our door frame is not standard, by about 2.5 inches...


The most important part of installing the new door frame is to make sure it's square at the corners (use a speed square at the top corners), and at least as level as the rest of your house is. Use shims (we needed 2 packs) to put the door frame where it needs to be. To shim, slide 2 bits of the wood thin sides first, and push them toward each other until the door frame is where it needs to be. Then, drive a screw through the door frame, shims, and into the side of the wall. Then, trim off the shim ends.

The other thing you'll need to do, with a brand new door frame, is make your own room for hinges and strike plates.


Since there's a hug gap between our door frame, we needed to fill it with something to keep the air out (or in). We found some spray foam specifically designed for door frames (if you use the other gap fillers, the foam can expand so much that it actually pushes the frame around). Make sure you re-install the interior trim before filling with the foam, and ensure that the holes you drilled for the lock and door latch are protected, as well.


Once that puffed up (and after a LOT of wiping off excess foam), it was time to install trim piece part 1.

 |
| Trim a bit out for the wires. |

Then, patchy trim piece 2.


WHEW.
Squeeze silicone in the gaps and nails, smooth with your finger, and DONE. Ish.
I still need to paint the new trim to clean it up and make it look uniform. But until next weekend...

Pretty good post. I just stumbled upon your blog and wanted to say that I have really enjoyed reading your blog posts.
ReplyDeleteSliding Doors Patio
Windows And Doors Phoenix
Entry Door Glass Replacement