A while back, when the kiddo moved from crib to big bed, we had a decision to make - cheapy toddler bed, or big bucks until-you-leave-this-house. I'm not a big fan of paying for the same thing twice, so we splashed out a little on a fancy Essentia mattress, and made sure we got it in twin XL - narrow enough to fit in his room, long enough to fit his growing height.
This made finding a bed a little tricky. So we packed up and trundled to Ikea for some ideas.
I liked the kids Malm bed; simple, low, inexpensive. I was even more excited when we found one in the as-is section for about half price. Only problem, the sides were twin length; not going to work on our extra long mattress.
And this is where Ikea is kind of magical - I marched over to the customer service/spare parts counter, and asked if they had any Malm queen side rails they could sell me separately. They did, confirmed that they used the same mounting hardware so I wouldn't even have to rig anything fancy to attach them, and charged me all of 20 bucks. Problem solved!
Except. The as is head and footboard I found were dark black/brown. The only side rails they had for the queen bed were white. So I had some painting to do. Which was fine, since I had planned on baseball-ing the headboard anyway.
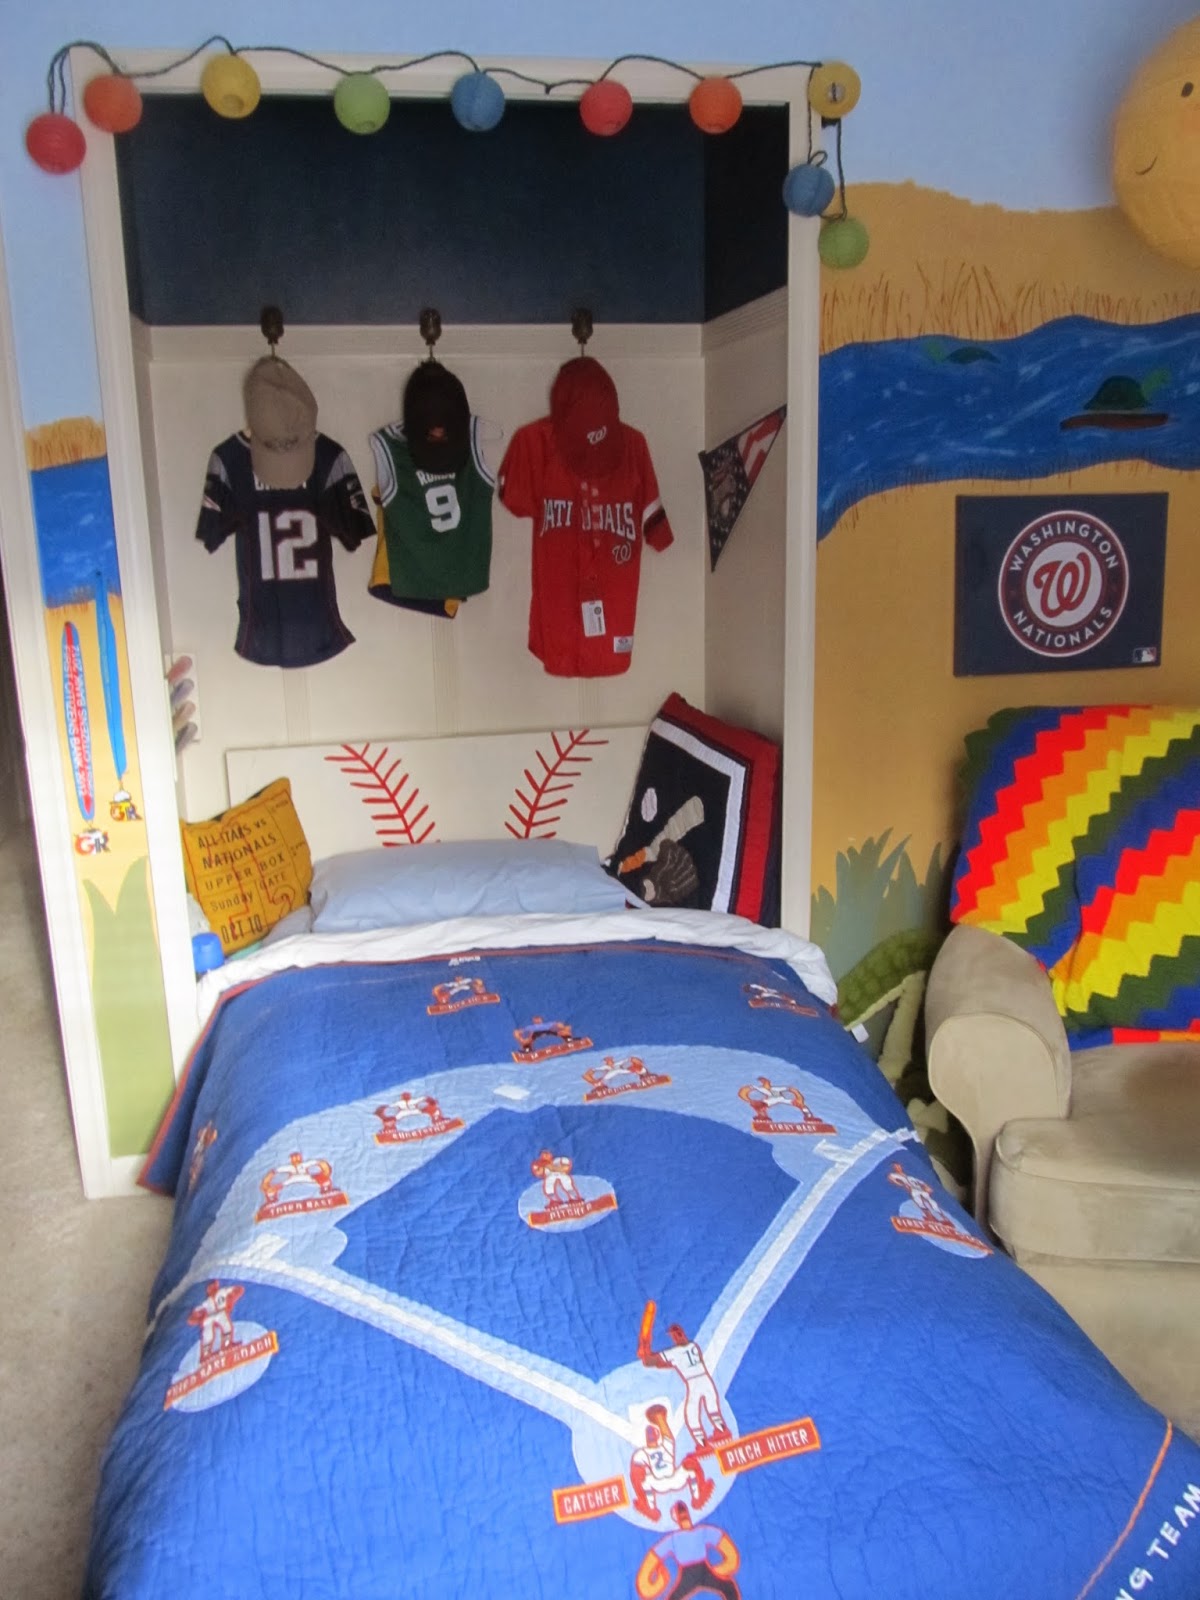
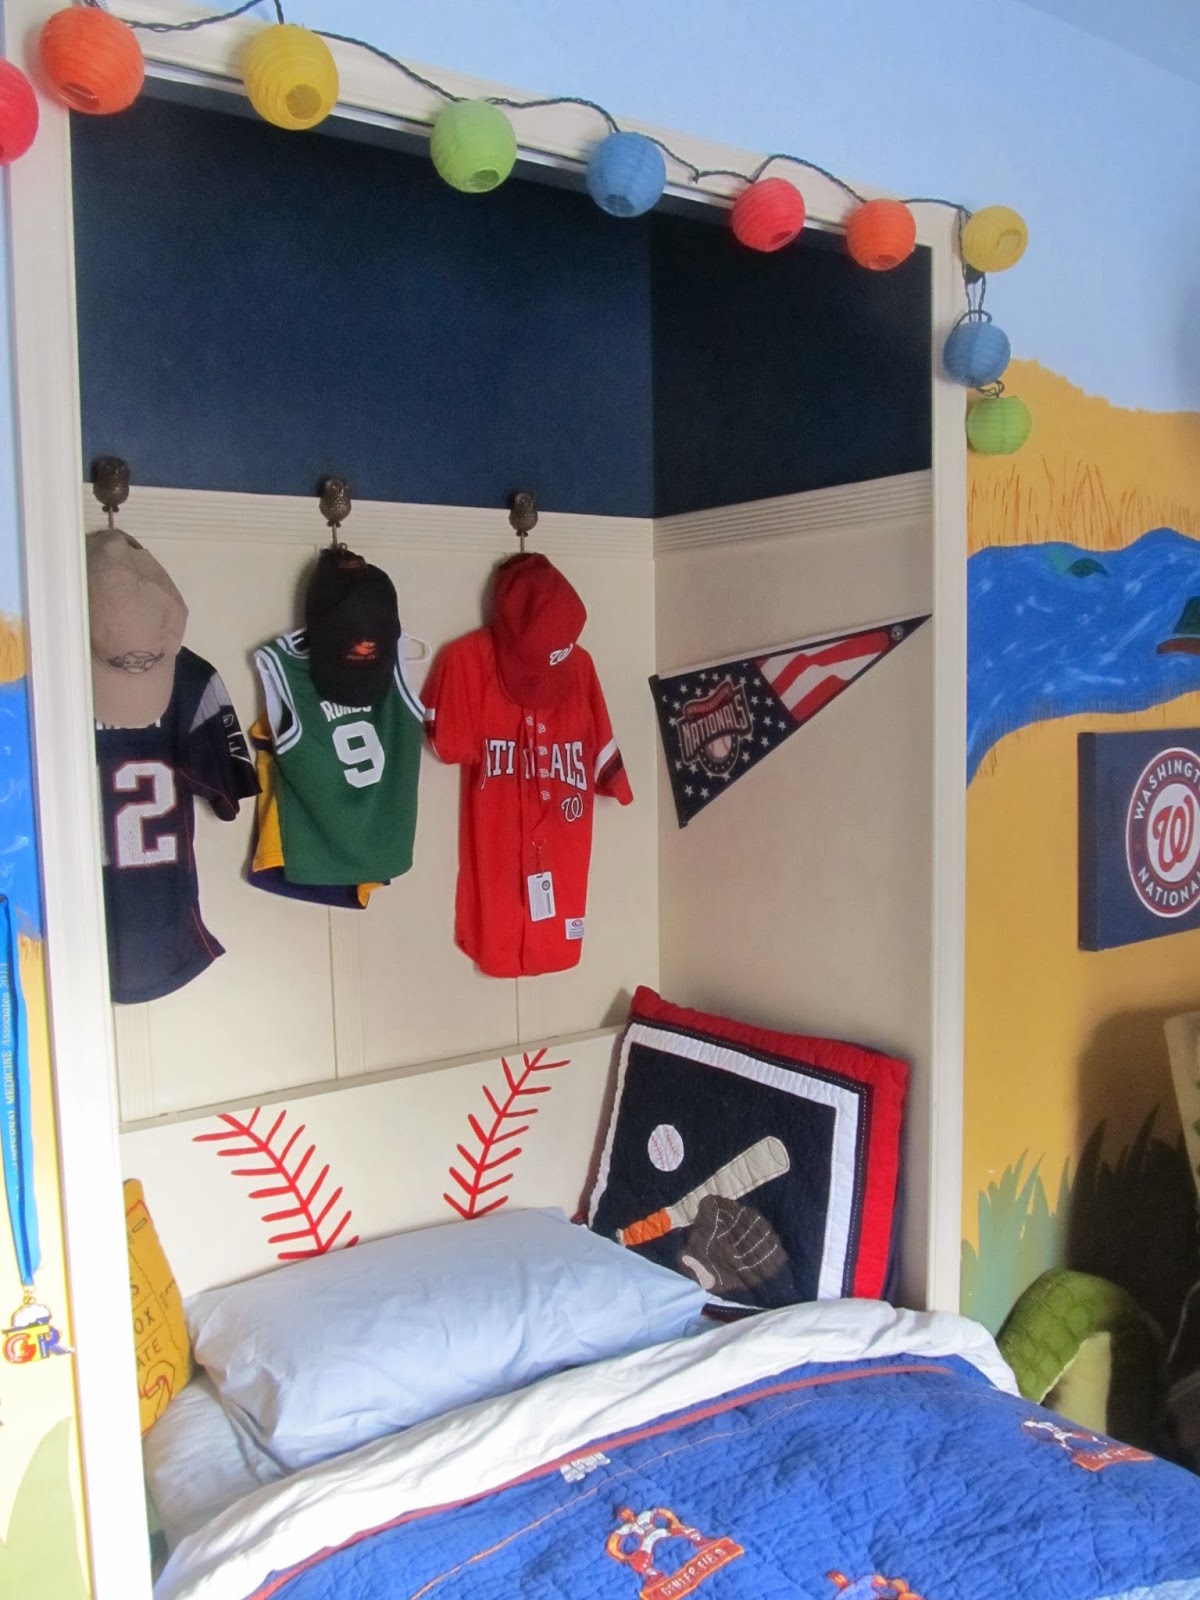
I sanded for-e-ver, primered, and coated the whole bed in some leftover trim paint I had in the garage. If I had the shiny-surface primer I used to paint our kitchen cabinets, I would have used that instead of my sanding marathon. It took 2 coats to get the coverage nice and even, and then I freehanded some baseball stitching on the headboard. It didn't turn out as well as I'd hoped, but it delighted the kiddo, so I called it good.
My kiddo has always had a tough time with the dark, and deemed every nightlight "too dark." So, while we were still at Ikea, I grabbed the Ledberg light strip, since I knew the led lights wouldn't get too hot for curious fingers, and wouldn't skyrocket my electric bill by being on all night. I screwed the holder clips to the back of the headboard, and now I don't hear any more complaints about the light being too dim.
 |
| Lights off... |
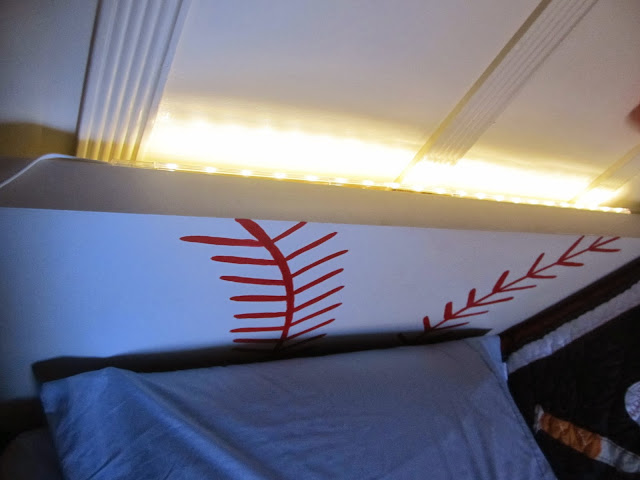 |
| Lights on... |
 |
| From the side |
When we moved his bed into the closet nook, there was a tiny space on the side that made me sure everything would get lost down in the gap. Luckily, I had a small floating shelf hanging around from another project that fit the space perfectly. Now he has a little spot for water, extra stuffies, or small toys he asks to bring to bed with him.
Sources:
Malm Bed, Ledberg LED light - Ikea
Quilt, Small Ticket Pillow - Land of Nod (on SUPER clearance)
Large Baseball Pillow - Pottery Barn Kids
Owl Hooks (leftover from a closet-reading nook transition that didn't work) - Anthropologie
Floating Shelf - Target


