Monday, October 7, 2013

Front Door Frame - Whew! Almost done!

Well, where were we...  Last time I checked in, I had a rotting front door frame.  Now I don't, but it wasn't as easy as it should have been (when is it ever?).


Here is where I will warn you that, if you have the means, go to your local home improvement store, buy a new door and frame (even if your door itself is fine, like mine was), and have them install it.  This was a not so fun project.

Then again, if you're like us, you don't have the means.  So you'll have to use your own muscle.

We started by gathering the supplies we knew we'd need.  Pry bar, hammer, and replacement trim pieces.


Take off your doorbell, and make sure to trim the wire ends so you don't incessantly ring it if the wires bump together (and make your dog think intruders are imminent)


Now the fun part - use the pry bar, hammer, leverage to help you remove the old trim.


Once we peeled off the top trim header, we knew our hypothesis about the water getting under there was correct.  At least we've got that sealed off now...


We intended to just patch the bottom door frame that had rotted out, but just the rot was more extensive than we saw initially.


So we took out the old door frame... and set off to find a new one.
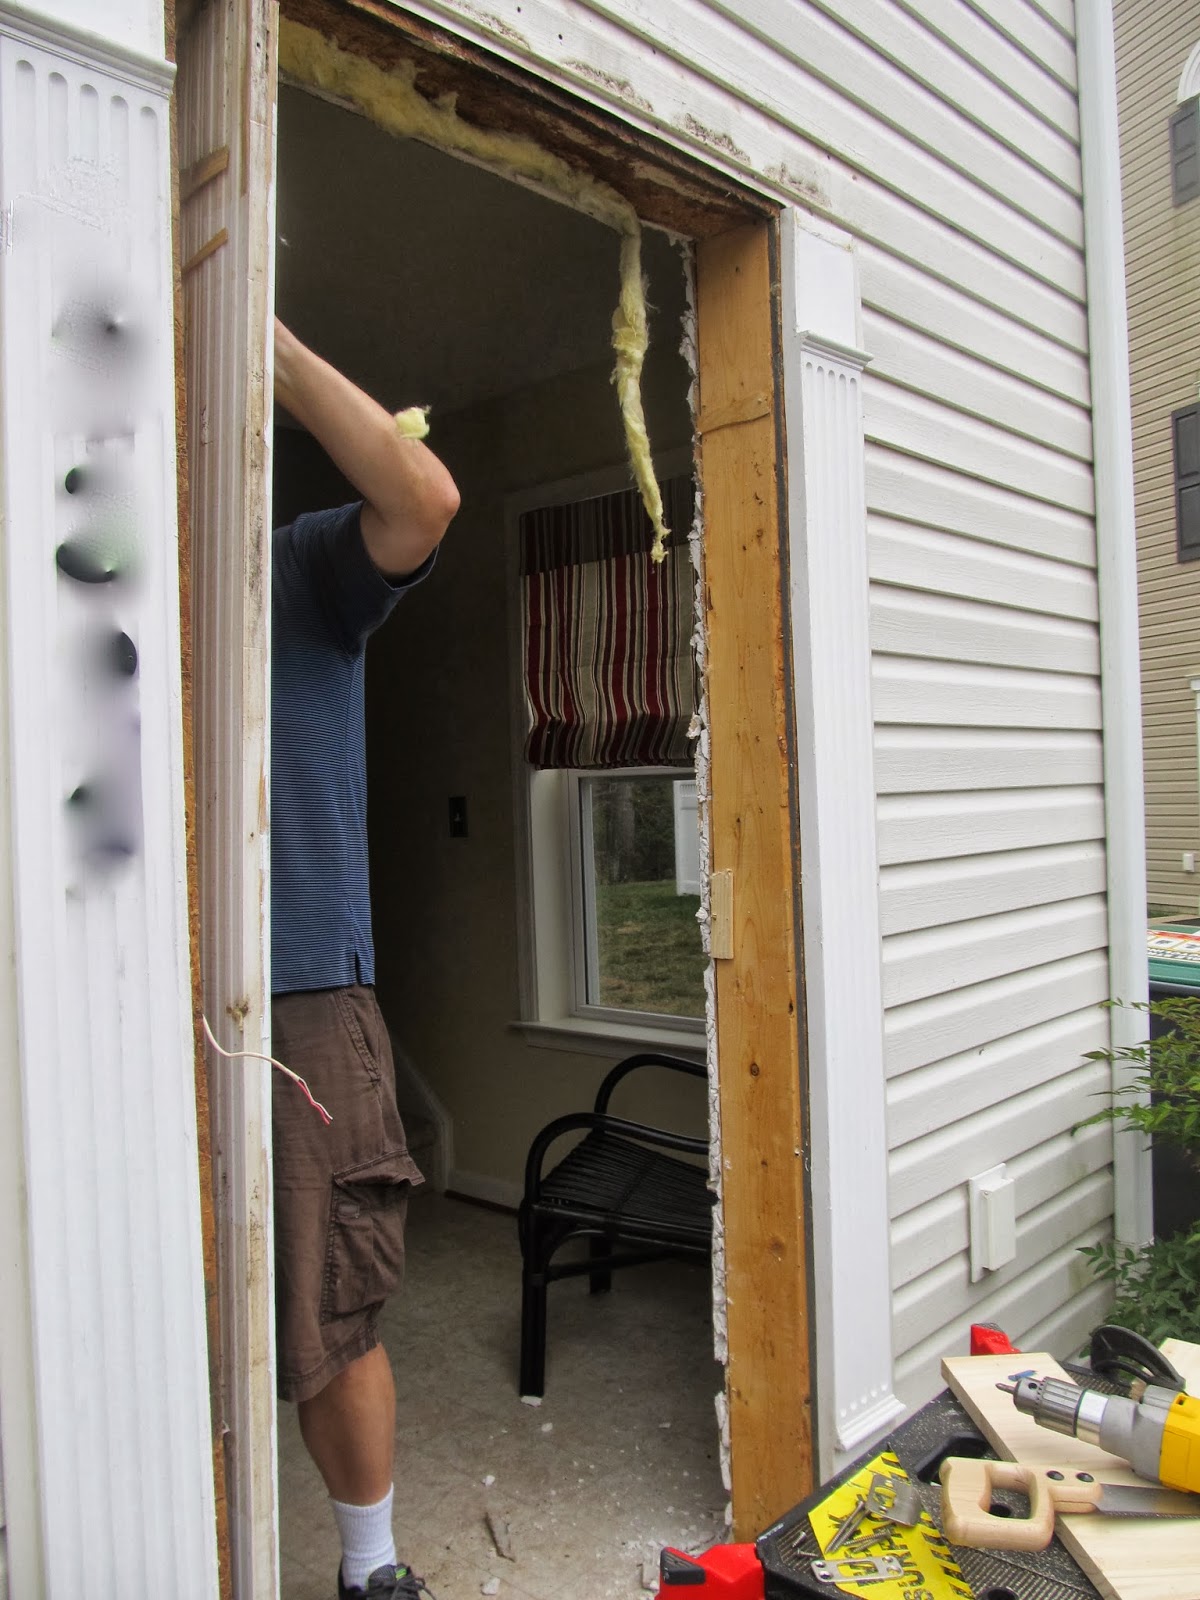


Every home improvement store sells a standard door frame kit.  Of course, our door frame is not standard, by about 2.5 inches...


The most important part of installing the new door frame is to make sure it's square at the corners (use a speed square at the top corners), and at least as level as the rest of your house is.  Use shims (we needed 2 packs) to put the door frame where it needs to be.  To shim, slide 2 bits of the wood thin sides first, and push them toward each other until the door frame is where it needs to be.  Then, drive a screw through the door frame, shims, and into the side of the wall.  Then, trim off the shim ends.


The other thing you'll need to do, with a brand new door frame, is make your own room for hinges and strike plates.


Since there's a hug gap between our door frame, we needed to fill it with something to keep the air out (or in).  We found some spray foam specifically designed for door frames (if you use the other gap fillers, the foam can expand so much that it actually pushes the frame around).  Make sure you re-install the interior trim before filling with the foam, and ensure that the holes you drilled for the lock and door latch are protected, as well.


Once that puffed up (and after a LOT of wiping off excess foam), it was time to install trim piece part 1.


Trim a bit out for the wires.


Then, patchy trim piece 2.


WHEW.  

Squeeze silicone in the gaps and nails, smooth with your finger, and DONE.  Ish.  

I still need to paint the new trim to clean it up and make it look uniform.  But until next weekend...


Monday, September 23, 2013

Half Finished House Tour - Entry Befores and Afters

The first floor of our little townhouse has the entry, garage, and a small rec room.  The entry runs parallel to the garage, and as a result is long and skinny and difficult to arrange in a useful and nice looking way.  I think we finally hit on a workable setup, but it took a few false starts to get there.

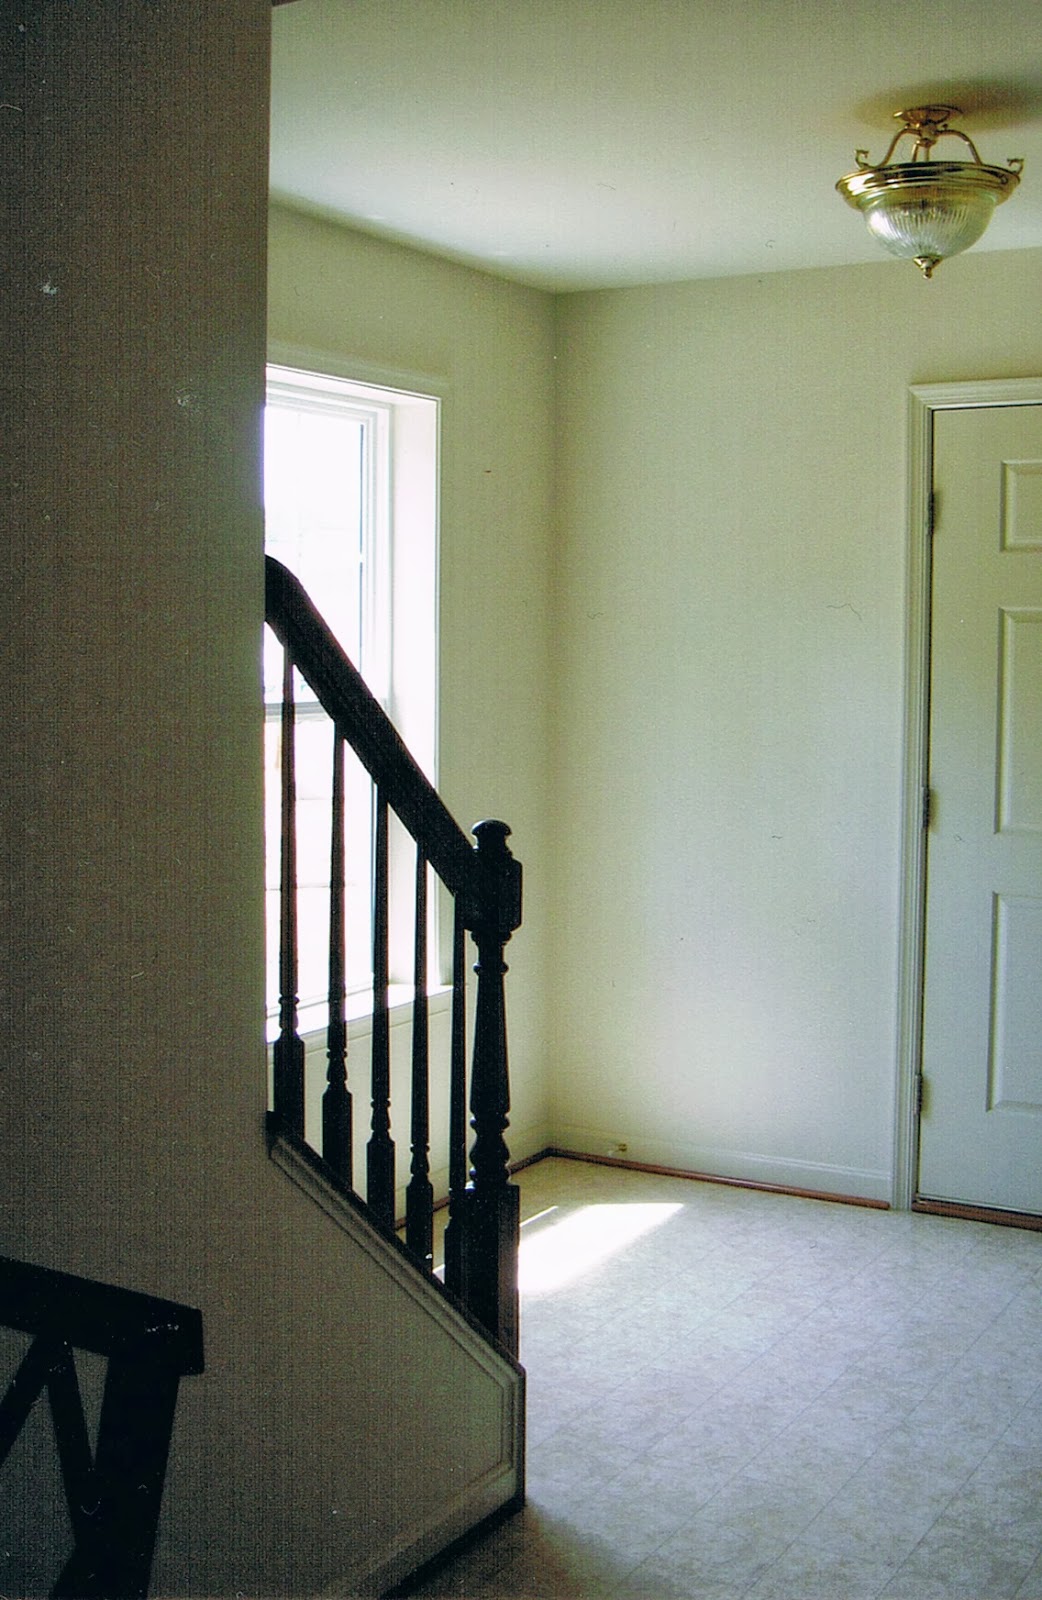
This is what our entry looked like when we first moved in.

Welcome to our abode.
As reference, Garage is through door on the left; rec room through the open door; coat closet on the right, on the opposite side of the bench.

Drop zone that would never, ever stay tidy.  Also, ew, that light.

Weird empty space.
Well, that wasn't working.  Nobody ever sat on the bench, the hooks never got used, shoes never got put on the shoe shelf.  It was a mess.

So, take 2.  We painted, changed out the terrible brass lights, switched the brass doorknobs to brushed nickel levers, fancied up the electrical covers from white to brushed nickel, and added some different hooks to handle coats and baskets for shoes.  We drilled and installed a peephole into the front door, because it was just too creepy not to have one.  

Spoiler:  It was still a mess.  Better, but still not very functional.  And the paint turned out to be almost-but-not-quite-right.  Not a very welcoming place to come home to.  


Messy shelf, messy hooks.  And nothing says "welcome to my home" like the smell of a basket full of shoes.

Totally useless table and bench.

A great place for putting on shoes, but the paint isn't quite right.


Finally, I think we've hit on a configuration that works.  We toned down the paint with a new color, added the shoe storage we'd been eyeing for a few years, and put hooks in places that actually make sense.  Maybe next year I'll roll my eyes at this plan and try again, but at least I'm happy with it for now.  

I couldn't find a bench I liked that cost less than $250, so I made a really simple wooden bench with my handy dandy drill and a little help from Lowes.  I love that they'll make your wood cuts for you, which saves a step at home.

The vinyl flooring has not held up well over the years, so we plan to replace it eventually, ideally with those tiles that look like hardwoods.  And I want to add crown moulding to fancy the place up a bit, but because of the stairway, this room won't be the first place I try it!  The finish is also not holding up well on the front door handle, so that will need replacing, as well.  I don't love the lights so much anymore, but they don't actively bother me, so they're on a more "if I happen across the absolute perfect replacement" list.  The quarter round trim between the floor and the baseboards needs painting, but I'm saving that work for after the floors are replaced.  And something has to happen with the stairs and bannister, but that's a whole OTHER project.  


Sources for entry (current):
Bench: Custom, wood from Lowe's
Chair, Mirror, Shoe Cabinets, Flower Art: Ikea
Hooks: Anthropologie
Round Key Hook, Roman Shade, Baskets: World Market
Pillows: Storehouse, from Marshalls
Small rugs: Target


Sunday, September 22, 2013

Projects NOT to start on Sunday afternoons...


I know it's Fall when the silicone caulk around my front doorway starts to get cracked and looking bad.  So I was going to remove and replace it.  I was going to have a lovely little simple post for you about removing and replacing the silicone caulk seal around my front door.  And it was going to be a quick project.  I've done it before, and truly, you can finish this project in a few hours.

Cracked

Bumpy

Not a good look.

Last time, I used an exacto knife to cut the silicone caulk seal, and a big screwdriver to pull out the old caulk, but that was hard to control and I wound up scoring the wood trim.  This time, I had a new tool, which worked PERFECTLY. (This tool is grody well-used because of its previous heroics in a dining room chair project that I am still sort of recovering from, but will share here soon.)
Say hello to my little friend...

I found that scoring the edges of the silicone on either side with the pokey end (on the right), and pulling out the glob with the dull hook side (on the left) worked best.

Out with the old...

For whatever reason, our builder had a LOT of faith in silicone caulk, and left a huge gap between our trim pieces.  


Just add caulk.


But even that was fine.  What stopped this really simple project was this.

Hmmm, what could be under this paint?

Which turned into this.
Yep, that entire board is rotted through.  And WET.

And this.

Yep, up here, too.

Of course.

We figured that since the big piece of trim right above the doorway isn't flush with the siding, water may have been getting in through the giant gap there, letting the wood get wet and rot away.  So I hopped up on my ladder and squeezed some silicone caulk into the gap.  Hopefully, that will prevent future rot. 

Mind the gap.

Globs of silicone caulk

Smoothed with a specialized tool finger.
Nobody can see up there, so it didn't need to be pretty.  
But that seal won't regenerate the wood that has rotted away already.  So we'll have to replace it.  Fortunately, that wood isn't too expensive or difficult to replace.  Unfortunately, we won't know until we get it off if the rot managed to get into any structural elements.

Until next weekend, my front door looks sad and gappy.  And even my quick projects come off half finished...


Monday, September 9, 2013

everything and the kitchen sink

We moved into this house in 2008, and from the first walk through, I thoroughly despised the kitchen sink.  It looked as cheap as it probably was for our builder to install it.  I hated the flimsy weight of its steel that let the faucet rock back and forth, rolled my eyes at the inevitable scratches on the bottom.

But nice sinks easily clear $350, not in this Mama's budget.  Fed up with waiting to win the Lottery, I turned to scouring a lovely website called Craigslist.org (perhaps you've heard of it?).  I managed to score my perfect Kohler cast iron/off white porcelain sink for $50.

Of course, the easiest time to replace a faucet is with the sink not yet installed, and we wanted to switch from shiny nickel to a brushed finish anyway, we replaced that, too (with big thanks to my generous parents, who bought it for us).

Things you will need:
Adjustable Wrenches
Towels (not your nicest)
Plumbers Putty
Patience
Screwdriver
Upper Body Strength
Silicone
At least one Helper
Maybe some PVC Pipe, Primer and Cement

Step 1 - Prep your new sink.  Since ours had been installed in someone else's kitchen, it still had some silicone around the edges and other dirt to clean up.


Also, rust.  Shit.


But, my very handy Dad had the solution - a spray paint that somehow interacts with the iron and stops the rust.  Science - it's like magic, but real.


Just like new, ready to install.


Now is a great time to hook up your new faucet, drain kits, etc., following the directions specific to your faucet/brand.  If you'll be using your old faucet/accessories, make life easy on yourself and switch it after you remove the existing sink.  Sadly, some things, like dishwasher air gaps and filtered water dispensers have to wait to be installed until after you've installed the sink.


For the drain kits, you'll want to use a generous amount of Plumbers Putty.  When you tighten the screws, you'll feel more confident about the seal if you see some squish out.


Step 2 - Turn off the water.  Just at the handles right under the sink is fine for this project - no need to cut off the whole house (unless you don't have specific water shut off valves at your sink, I guess).  Disconnect your supply and drain hoses.


Step 3 - Remove your old sink.  Depending on how your sink is installed, this might be really easy.  We caught a pretty good break here, just having to unscrew some clips, then pushing the sink up from the underside, which easily broke the existing silicone seal.


Then, run a scraper over the counter to remove any lingering silicone and make room for your new sink.

Step 4 - Speaking of silicone, now's the time to lay down a new bead.


Step 5 - Set the sink.  Gather your helper and upper body strength, lift the sink and set it in the hole.  Try to wiggle it as little as possible, but make sure it's centered in the counter hole.

Step 6 - Re-attach everything; water hoses, drains, garbage disposals, water filters, dishwasher air gaps, and whatever else lives under your kitchen sink.

Step 7 - Realize the new placement of your sink drain holes means the PVC pipes don't match up anymore.  Pout.  Then, keeping the same basic configuration, grab some new PVC, and a hack saw to make your puzzle match up.  Use the primer and cement to make sure you don't drain into your cabinet.

Step 8 - Check for leaks and troubleshoot.  Run all the water, the sprayer, the disposal, etc.  In our installation, we had a few leaks that were cured with a dab of silicone or a new hose.  Try to keep an eye on it for the rest of the day, if you can.


And that's it, you're done!  Enjoy your brighter new kitchen! (and maybe do the dishes once in a while...)


*No products were sponsored in the making of this blog post.  Everything mentioned here is in the post because we actually used it, and were paid for with our own personal dollars.